

The DIY Guide to Hanging Neon Signs (Customer Stories + Tips for Picture-Perfect Installs)
Getting your ZTYLIST neon sign perfectly hung shouldn't feel like rocket science! 🚀 We've collected dozens of customer stories, genius tricks, and hard-learned lessons to help you nail that Instagram-worthy install on your first try.
Whether you're a total DIY newbie or a seasoned home decorator, these real customer experiences will save you time, money, and those dreaded "oops" moments that happen when you're eyeballing measurements at 2 AM.
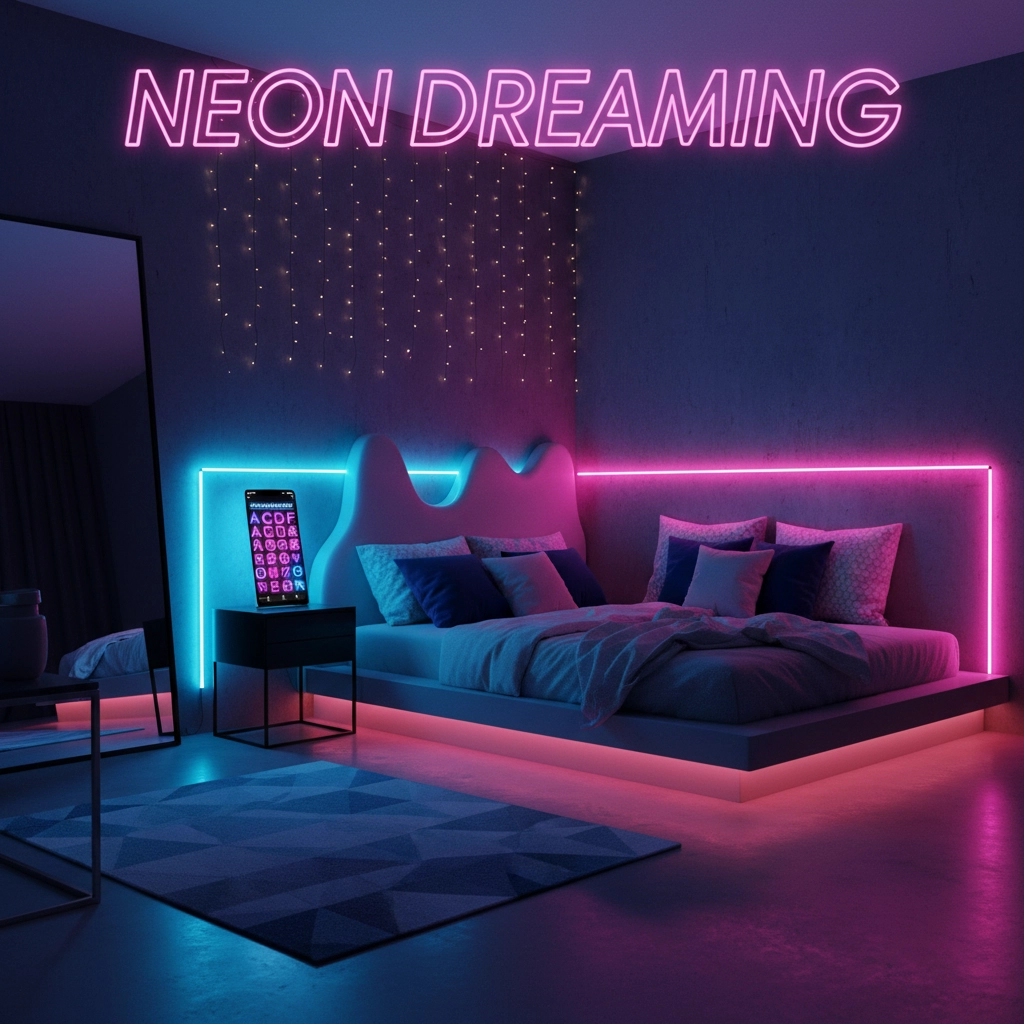
REAL CUSTOMER STORY: Sarah's Bedroom Transformation ✨
"I ordered the 'Believe in your dreams' sign for my daughter's room and honestly thought I'd need my husband to help install it. Turns out, I didn't!" - Sarah M., Portland
Sarah discovered what many ZTYLIST customers learn: our LED neon signs are surprisingly lightweight compared to traditional glass neon. Her biggest challenge? Choosing the perfect height above the bed.
Sarah's Pro Tip: "I held the sign up at different heights and took photos with my phone. Looking at the pics helped me see what looked best before I committed to drilling holes!"
THE PLANNING PHASE: Don't Skip This! 📏
LOCATION IS EVERYTHING - Your sign's impact depends entirely on placement. Here's what our customers wish they'd considered first:
Power Source Proximity ⚡ Check how close your desired spot is to an outlet. ZTYLIST signs come with 6-foot power cords, but extension cords can create safety hazards and look messy.
Wall Type Assessment 🧱
Drywall, concrete, brick, wood paneling - each requires different mounting hardware. Customer Jake from Denver learned this the hard way: "I tried using regular drywall screws on my basement's concrete walls. Spoiler alert: didn't work!"
Lighting Considerations 💡 Your neon sign will look different in various lighting conditions. Test your chosen spot during different times of day to ensure maximum impact.
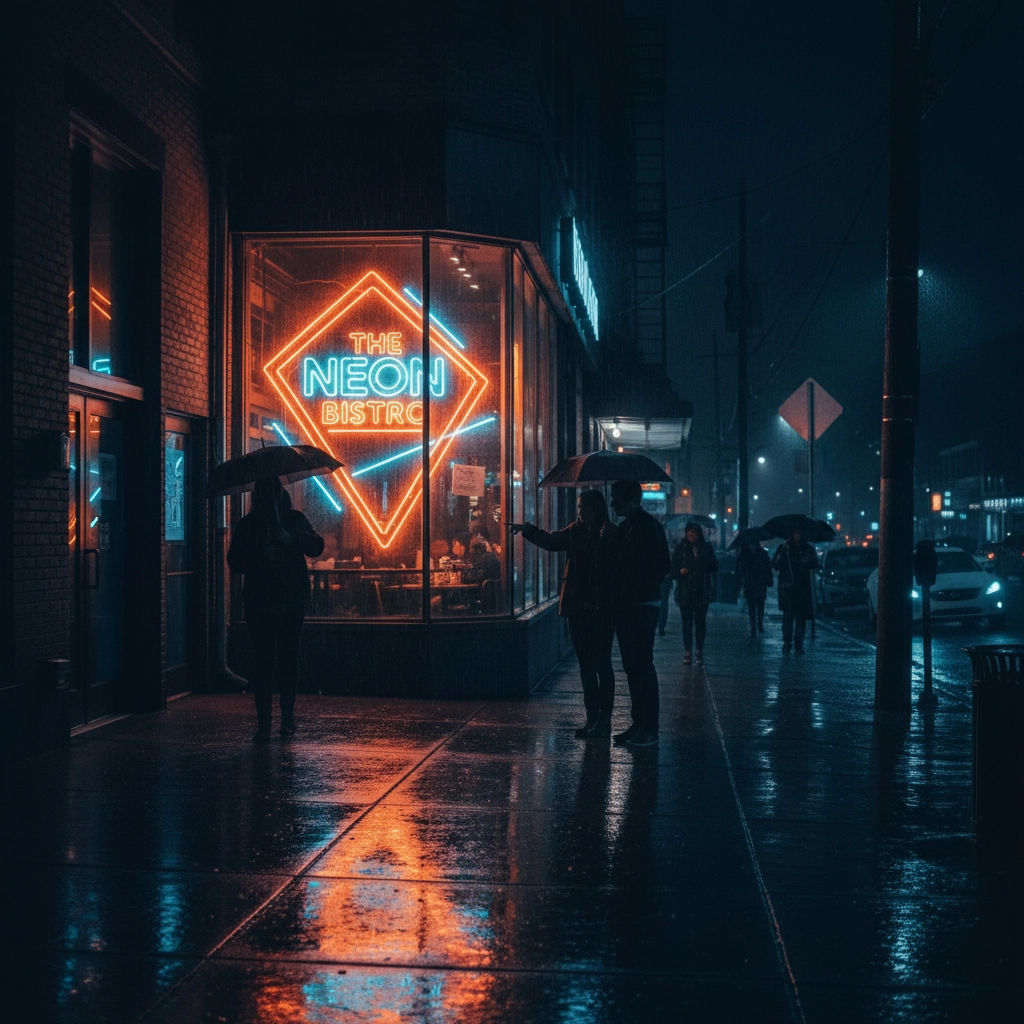
CUSTOMER STORY: The Restaurant Revolution 🍕
Tony's Pizza Palace in Chicago wanted to upgrade from their old fluorescent "OPEN" sign to something that would actually stop foot traffic. He chose our Bar Beer Cheers LED sign for the window.
"The installation was cake, but positioning it took some trial and error. Too high and people walking by couldn't see it clearly. Too low and it got blocked by our menu board."
Tony's Solution: He measured the average eye-level of people walking past his storefront (about 5'6") and positioned the sign at that height. Sales increased 23% in the first month! 📈
ESSENTIAL TOOLS & MATERIALS 🔧
Every successful ZTYLIST installation starts with having the right gear ready:
Basic Tool Kit:
- Measuring tape (don't trust your eyeballs!)
- Level (crucial for professional results)
- Pencil for marking
- Drill with appropriate bits
- Screwdriver (manual backup is smart)
- Stud finder (for wall mounting)
Hardware Essentials:
- Drywall anchors (rated for 20+ pounds)
- Screws (length depends on wall thickness)
- Wall spacers (creates that floating effect)
- Chain or wire (for hanging installations)
INSTALLATION METHODS: Pick Your Style 🎯
THE DIRECT MOUNT - Most Popular Choice Perfect for permanent installations where you want the sign flush against the wall. 83% of our customers choose this method because it's clean, secure, and showcases the sign's full vibrancy.
Customer Insight: "I love how the direct mount makes my 'Good vibes only' sign look like it's built into the wall. Very modern and sleek!" - Ashley K., Miami

THE HANGING METHOD - Flexibility Champion
Great for renters or anyone who wants to adjust height seasonally. Uses ceiling hooks or wall-mounted brackets with chains.
THE SPACER MOUNT - Professional Upgrade Creates a floating effect with the sign appearing to hover off the wall. Popular for business installations and modern home aesthetics.
STEP-BY-STEP INSTALLATION GUIDE 📝
STEP 1: Mark Your Territory 🎯 Use your measuring tape and level to mark exact screw locations. Pro customer tip from Mike in Seattle: "I use painter's tape to create a template first - if I mess up the measurements, I'm only repositioning tape, not re-drilling holes!"
STEP 2: Prep Your Wall Surface 🧹 Clean the mounting area thoroughly. Dust and debris can prevent proper anchor seating and create weak points in your installation.
STEP 3: Drill Like a Pro ⚡ Start with pilot holes to prevent wall cracking. For drywall installations, use a bit slightly smaller than your anchor diameter.
Customer Warning from Lisa: "I got impatient and skipped pilot holes on my bathroom installation. Ended up with a spider crack that took touch-up paint to fix. Learn from my mistake!"
STEP 4: Install Anchors & Hardware 🔩 Insert drywall anchors flush with the wall surface. Protruding anchors will prevent your sign from sitting flat.
STEP 5: Mount Your ZTYLIST Sign ✨ Align the sign's pre-drilled mounting holes with your installed hardware. Double-check level before final tightening - this is your last chance for easy adjustments!
CUSTOMER STORY: The Wedding Save 💍
Emma was planning her backyard wedding and wanted a custom neon hashtag sign. Three days before the event, she realized her original installation plan wouldn't work with the tent rental layout.
"I panicked! But then I remembered ZTYLIST signs are lightweight. I quickly switched to a hanging installation using tent framework. It looked even better than my original plan - more romantic and visible from all angles!"
Emma's Emergency Solution: Chain mounting with tent clamps. Total install time: 15 minutes!
TROUBLESHOOTING COMMON ISSUES 🚨
PROBLEM: Sign appears dim or uneven SOLUTION: Check power connections and ensure the sign isn't pressed too close to the wall, blocking ventilation
PROBLEM: Mounting hardware feels loose SOLUTION: Upgrade to heavier-duty anchors rated for more weight than your sign requires
PROBLEM: Sign looks crooked despite using a level SOLUTION: Your wall might not be perfectly straight! Use adjustable spacers to compensate
ADVANCED INSTALLATION TIPS 🎓
The Height Formula 📐 For residential installations: Eye level + 12 inches works perfectly for most spaces. For business signs: Match your storefront's architectural lines for professional integration.
Power Management ⚡ Route power cords along baseboards or behind furniture. Never run cords across walkways - it's a safety hazard and looks amateur.
Multiple Sign Coordination 🎨 Planning a sign gallery wall? Install the largest sign first and build around it. Customer David created an amazing game room using three different ZTYLIST signs: "I started with the big 'Don't Quit Gym' sign and added smaller accent pieces. The key was maintaining consistent spacing between each piece."
SEASONAL CONSIDERATIONS 🌟
Summer Installations: Heat can affect adhesive-based mounts. Opt for screw-based installations in areas with high temperatures.
Winter Projects: Cold weather makes some materials brittle. Let signs acclimate to room temperature before installation.
Holiday Displays: Plan for easy removal and storage. Quick-release mounting systems save time during busy holiday seasons.
MAINTENANCE & LONGEVITY TIPS 🛠️
ZTYLIST LED neon signs are built to last, but proper installation extends their lifespan significantly:
- Clean mounting points annually to prevent dust buildup
- Check hardware tightness seasonally
- Inspect power connections for wear or damage
- Keep spare mounting hardware for quick repairs
Customer Success Story: "My first ZTYLIST sign has been hanging in my coffee shop for three years. Still bright as day one, never had a single issue. The installation quality definitely matters!" - Coffee shop owner Maria, Austin
FINAL INSTALLATION CHECKLIST ✅
Before you call your installation complete:
- ✅ Sign is level and secure
- ✅ Power cord is safely routed
- ✅ Mounting hardware is tight
- ✅ Sign illuminates evenly
- ✅ Installation looks professional
- ✅ Power switch is accessible
Ready to transform your space with vibrant ZTYLIST LED neon? Browse our complete collection at ZTYLIST.shop and join thousands of customers who've created stunning installations using these proven techniques! 🌈
Remember: Great installations aren't just about following instructions - they're about understanding your space and making smart choices that showcase your sign's full potential. Your perfect neon moment is just one installation away! ✨