

The Ultimate Guide to Custom Neon Signs: Everything You Need to Succeed
Ready to light up your world with CUSTOM NEON MAGIC? ✨ Whether you're looking to create the perfect vibe for your home, boost your business branding, or start your own neon sign empire, you've landed in exactly the right place!
Custom neon signs aren't just lighting: they're PURE ENERGY that transforms any space from boring to absolutely electric! 🔥 And here's the best part: creating your own custom neon masterpiece is way more achievable than you think.
WHY CUSTOM NEON SIGNS ARE TAKING OVER 🚀
Let's be real: nothing beats that neon glow! Custom neon signs have exploded in popularity because they're:
- INSTANTLY eye-catching and impossible to ignore
- Perfect for ANY space: from bedrooms to boardrooms
- Totally customizable to match your exact vision
- Way more affordable than traditional glass neon
- Energy-efficient and built to last for years
Plus, with modern LED neon technology, you can create professional-looking signs without needing a physics degree or a massive budget! 💡
DESIGN LIKE A PRO: YOUR CREATIVE FOUNDATION 🎨
Here's where the magic starts: your design is EVERYTHING! Don't just wing it; spend time getting this right because a killer design is what separates amateur hour from professional-level awesome.
START WITH SIMPLE AND BOLD
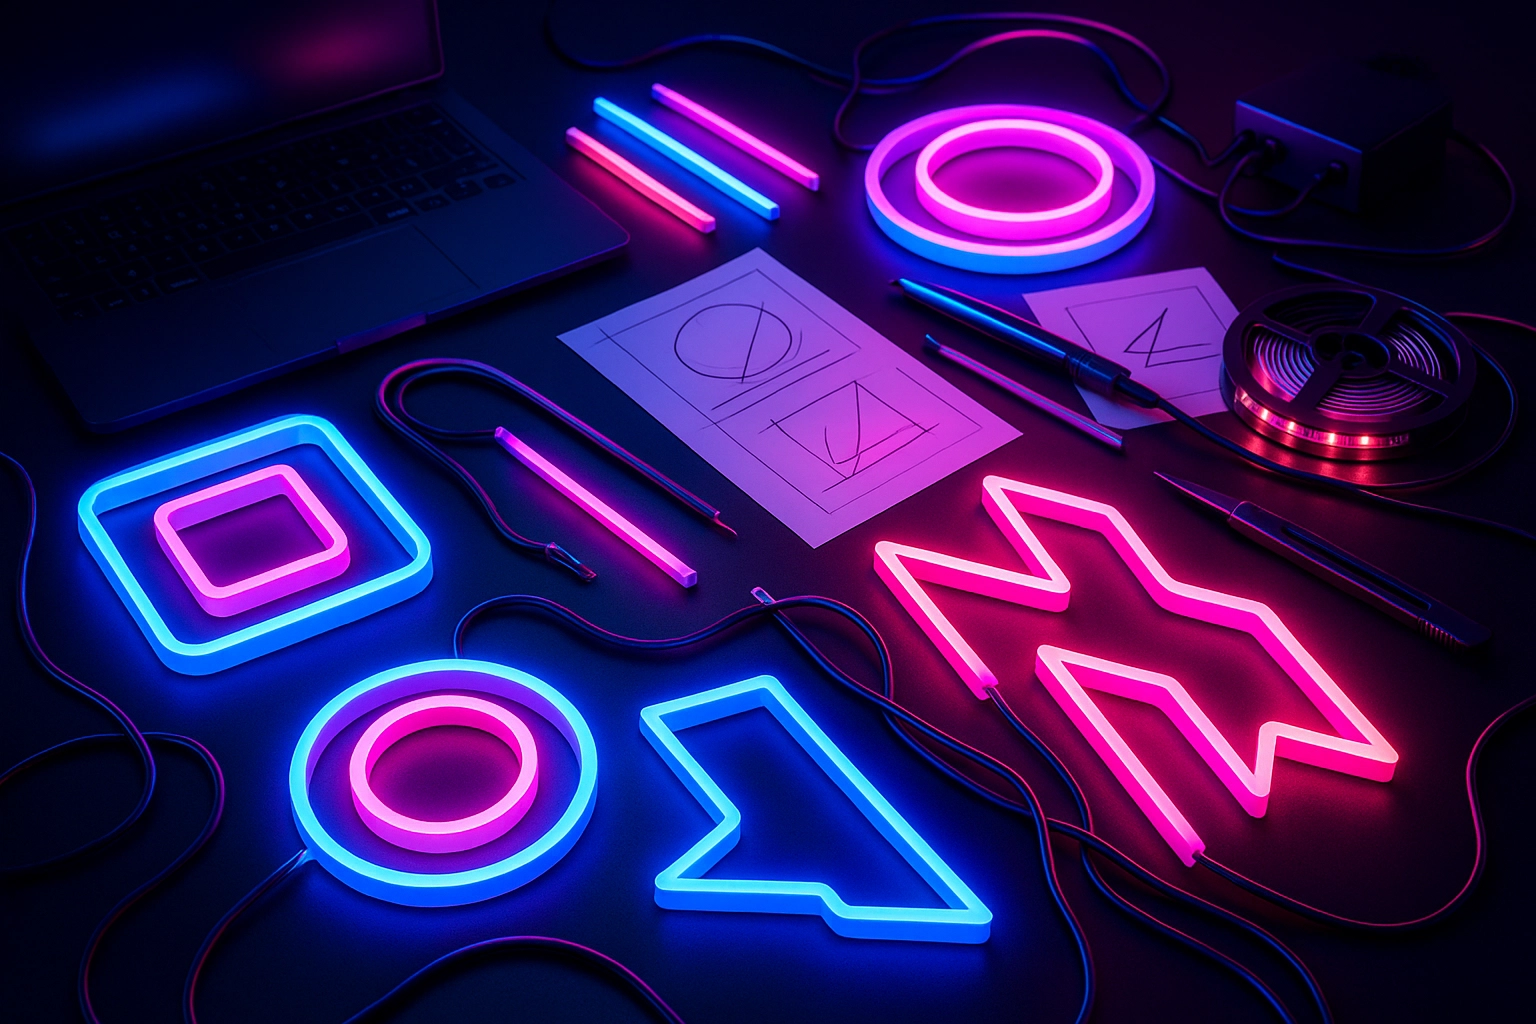
Keep it simple, keep it powerful! Your first custom neon should focus on:
- Bold text that's easy to read from a distance
- Basic shapes like hearts, stars, or arrows
- Short phrases that pack a punch
- Clean geometric patterns that pop
Skip the tiny details and super complex curves for now: trust me, your future self will thank you!
DIGITAL DESIGN TOOLS THAT ACTUALLY WORK
Level up your design game with professional software:
- Adobe Illustrator for vector perfection
- CorelDRAW for detailed control
- Canva for quick and easy layouts
- Even free online tools can get the job done
PRO TIP: Always convert text to vector outlines and make sure all your lines connect perfectly: broken paths = broken dreams! 💔
THINK ABOUT YOUR SPACE
Before you get too excited about that 10-foot-wide masterpiece, measure your actual space! Consider:
- Where will this baby live? Wall, table, window?
- How much viewing distance do you have?
- What's your power source situation?
- Do you need dimming capabilities?
MATERIALS THAT WON'T LET YOU DOWN 🛠️
Time to talk gear! Getting the right materials upfront saves you from those "why didn't I think of this?" moments later.
YOUR SHOPPING LIST FOR SUCCESS
LED Neon Strip Lights - The star of the show! Choose quality strips that won't fade or flicker after a few months.
Clear Acrylic Backing - This is your canvas, so don't go cheap here. Get something thick enough to support your design.
12V Transformer - Your power source needs to match your LED requirements perfectly.
Silicone Adhesive - Because nothing ruins the vibe like strips falling off the wall!
Mounting Hardware - Brackets, screws, whatever you need to get this thing securely installed.
Cutting Tools - Sharp scissors or a quality box cutter for clean cuts.
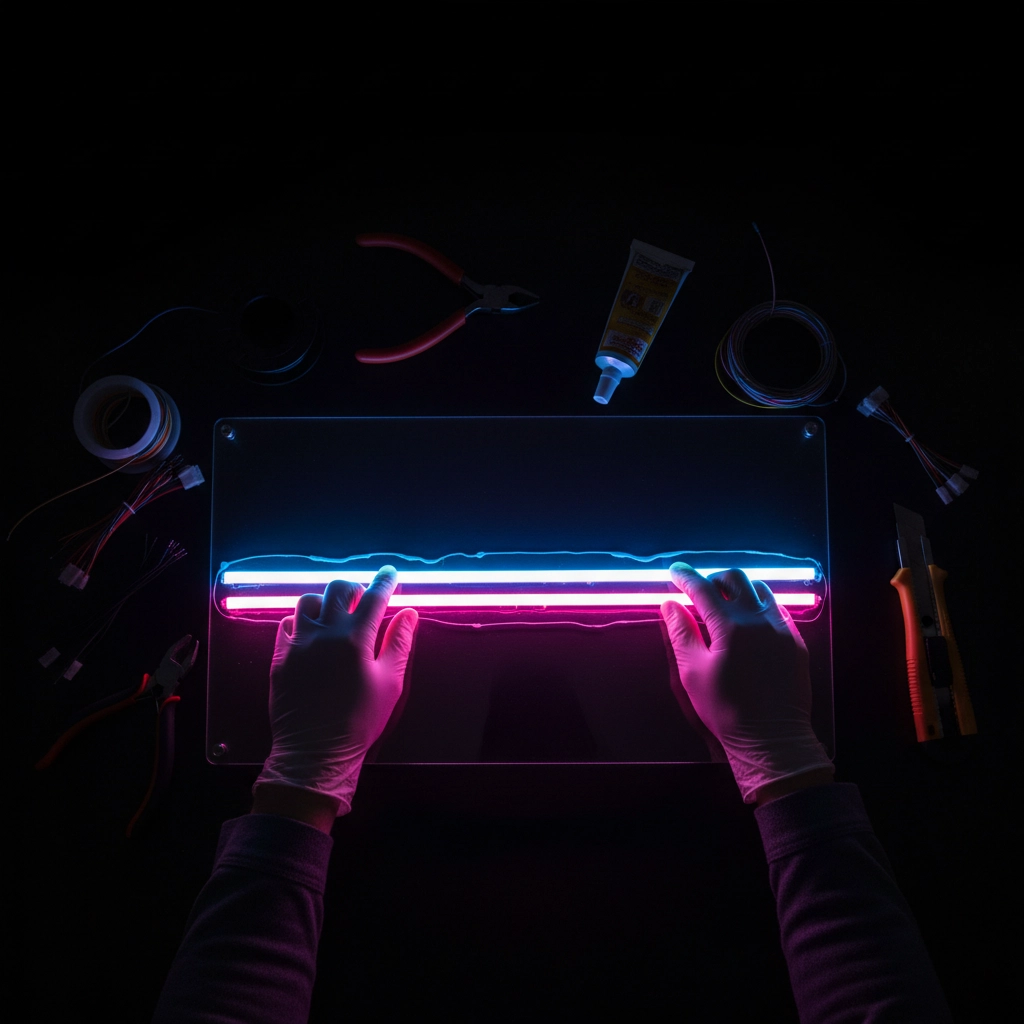
THE STEP-BY-STEP CREATION PROCESS 📋
Ready to make this happen? Let's break it down into foolproof steps that actually work:
STEP 1: TRANSFER YOUR DESIGN
Print out your design and carefully transfer it to your acrylic backing. Use a marker that won't smudge, and take your time: rushing here creates problems later!
STEP 2: MEASURE TWICE, CUT ONCE
Measure your LED strips carefully against each line of your design. Remember: LED strips have segments, and each segment needs to be at least 3 centimeters long. Cut cleanly and handle with care!
STEP 3: ADHESIVE APPLICATION
This is where patience pays off! Apply your silicone adhesive in steady, even lines along your design path. Press those LED strips firmly but gently: you want secure contact without damaging the strips.
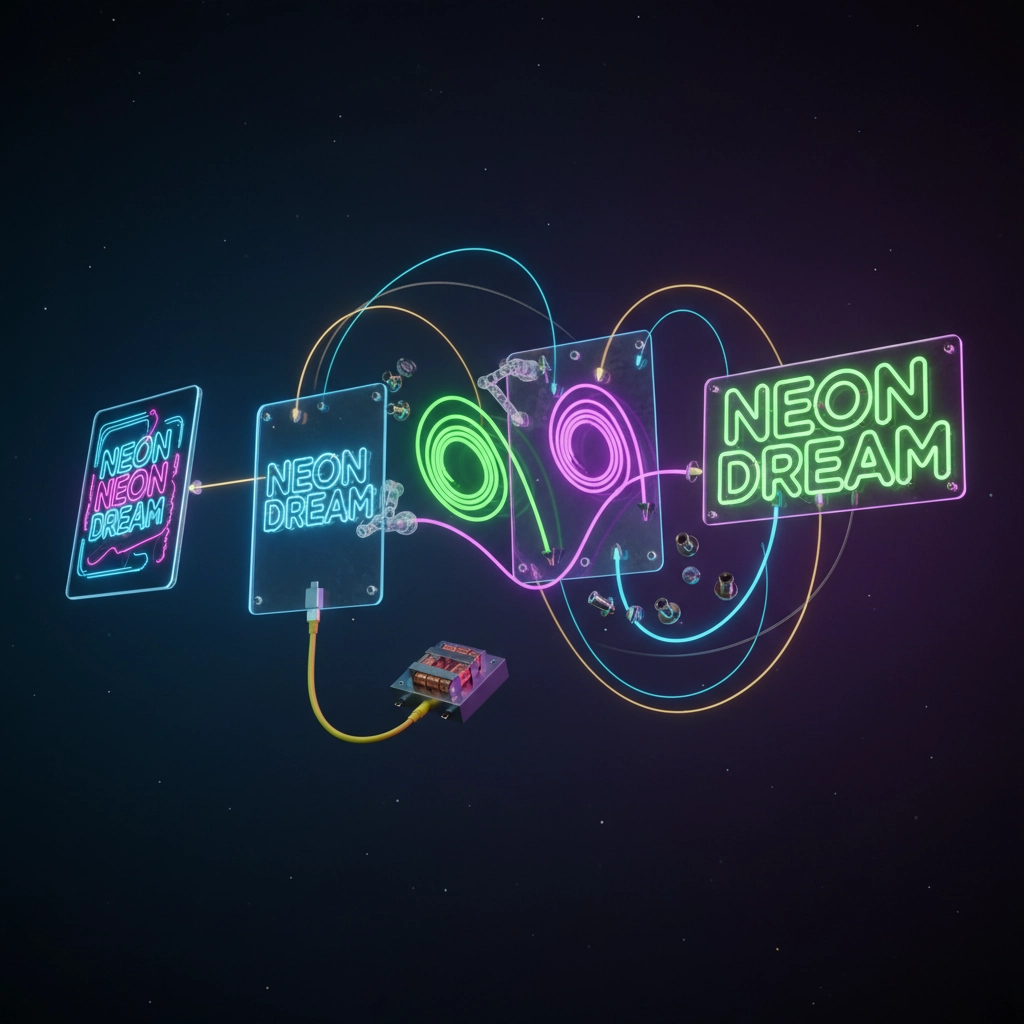
STEP 4: WIRING WIZARDRY
Follow the manufacturer's wiring instructions like your life depends on it! Secure connections prevent flickering, dimming, or complete failure. Double-check every connection before moving on.
STEP 5: THE MOMENT OF TRUTH
Test everything before you finish! Power up your sign and check that every section lights up perfectly. If something's not working, fix it now: not after it's permanently mounted!
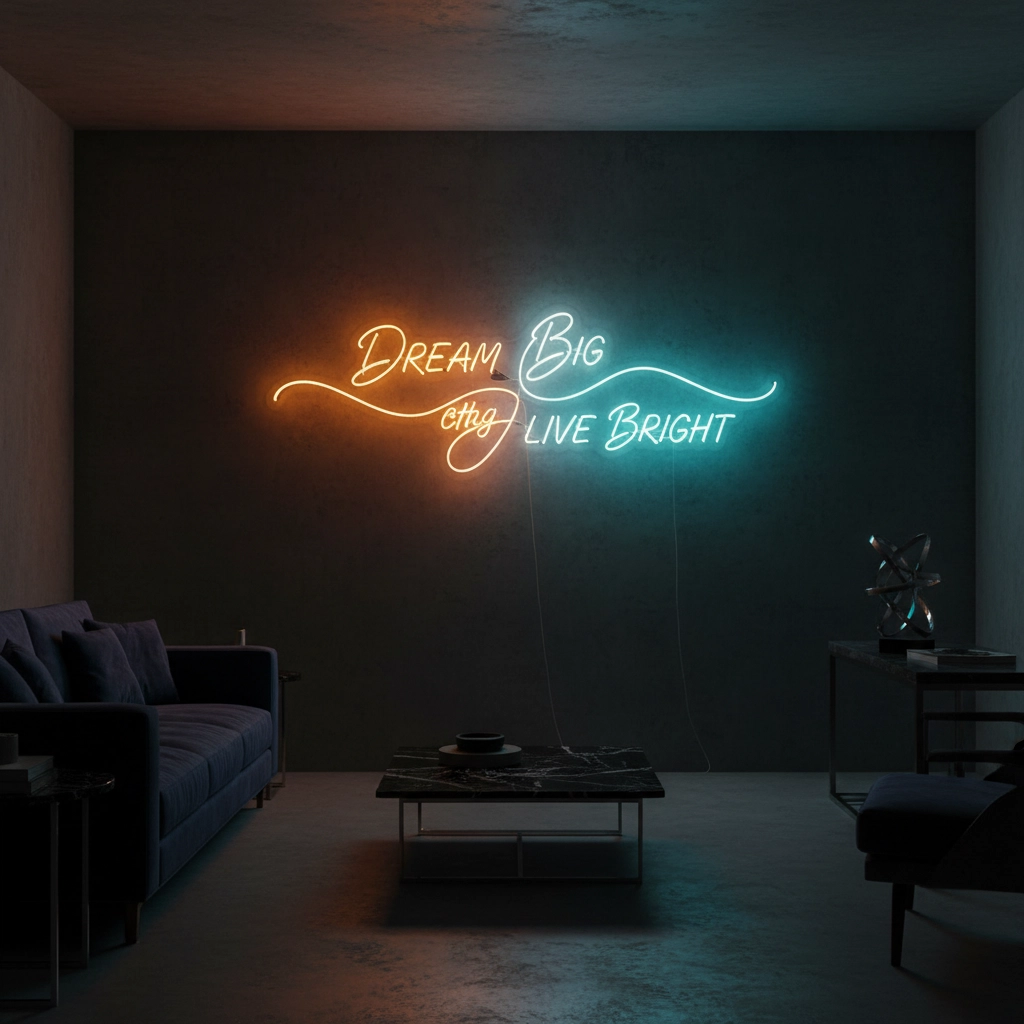
PROFESSIONAL FINISHING TOUCHES THAT MATTER ✨
Want your custom neon to look like it came from a high-end studio? These finishing details make all the difference:
Hide ALL the wires - Nothing screams "DIY amateur hour" like visible wiring everywhere. Use cable management solutions and plan your wire routing.
Secure mounting - Your sign should feel rock-solid, not like it might fall at any moment. Use appropriate wall anchors for your wall type.
Clean edges - Sand any rough acrylic edges and clean fingerprints off everything. First impressions matter!
Consider dimming - Adding a dimmer switch gives you total control over your vibe. Bright for parties, subtle for chill time.
TURNING YOUR SKILLS INTO SUCCESS 💰
Here's where things get really exciting: once you've mastered custom neon creation, you've got a skill that people will literally pay for!
BUSINESS OPPORTUNITIES EVERYWHERE
- Home decor enthusiasts who want unique pieces
- Small businesses needing affordable signage
- Event planners looking for custom touches
- Wedding industry (huge market for custom signs!)
- Content creators wanting Instagram-worthy backgrounds
PRICING YOUR CREATIONS
Don't undervalue your work! Factor in:
- Material costs (obviously)
- Design time (this is skilled work!)
- Assembly labor (your time has value)
- Profit margin (you're running a business!)
STARTING TIP: Begin with friends and family to build a portfolio, then gradually raise your prices as demand grows.
AVOIDING COMMON PITFALLS 🚫
Learn from others' mistakes and save yourself the headache:
Skipping the planning stage - Measure everything twice, order once!
Buying cheap materials - Your reputation depends on quality that lasts.
Ignoring electrical safety - Always follow proper wiring practices.
Overcomplicating first projects - Master the basics before attempting advanced techniques.
Underestimating time - These projects always take longer than expected!
MAINTENANCE AND LONGEVITY 🔧
Keep your neon signs looking fresh and vibrant with minimal effort:
Regular cleaning with appropriate materials keeps that glow bright. Check connections periodically to prevent issues. Protect from moisture if installing outdoors or in humid areas.
Quality LED neon can last 50,000+ hours with proper care: that's years of reliable service!
WHERE TO GET INSPIRATION AND SUPPLIES 🌟
Need ideas or materials? Check out ZTYLIST's collection for inspiration and quality components that won't let you down. From dimmable LED neon lights to creative 3D night lights, there's no shortage of possibilities!
Ready to light up your world? The custom neon sign game is waiting for you, and with this guide, you've got everything you need to create stunning, professional-quality signs that'll make people stop and stare!
Start simple, think big, and remember: every neon empire started with a single glowing idea! ⚡